The easy workaround to fix 4K and FCP 7 incompatibity issues is to downscale and convert videos from 4K to 1080p ProRes - ensuring maximum editing quality and efficiency when working with Final
Cut Pro 7 and FCP X.
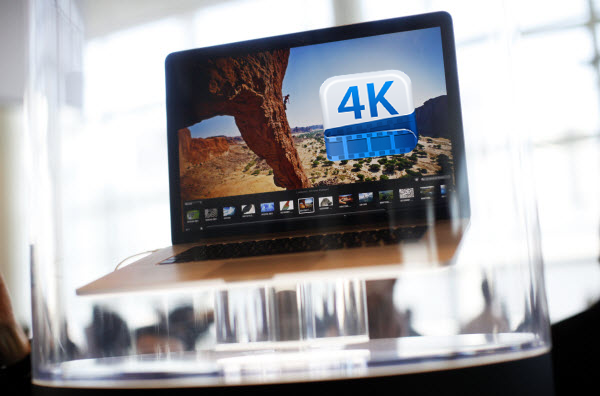
4K video has come to our life, and there is a lot of discussion about 4K TV and camera. As we all know, video quality is one of the most important factors that many people are concerned about. So
4K video more and more by a lot of people welcome. If you have 4K video, you may need to use Final Cut Pro 7 to import and edit 4K video. Here you will find the painful experience for the FCP 7
to handle high-resolution 4K images. Although Final Cut Pro X supports 4K resolution, hardware requirements are also affected. So what is the way to use 4K video with Final Cut Pro 7?
Since the majority of work is still being finished in 1080p, the easy workaround is to downscale the video from 4K to 1080p. Final Cut Pro works best with Apple ProRes codecs, so you just need to
downscale the 4K footage to 1080p ProRes for using in FCP 7. Actually, it's not as difficult as you imagine. What's need is just a common video converter like
Dimo Video Converter Ultimate for Mac . This program features high efficiency and seamless conversion. With
it, you can easily downscale and convert 4K to 1080p ProRes encoded MOV files which ensures maximum editing quality and efficiency when working with Final Cut Pro 7 and FCP X. Here is how to do
it.
Plus,
this fastest video converter also enables you to downscale videos resolution without notice the difference by
your eyes, along with custom video bitrate, frame rate to get your desired output video size, for uploading your DVD to YouTube, Vimeo etc. If you are the user of Windows computer, simply turn to
Dimo Video Converter Ultimate to convert and transfer DVD videos to USB on Win.
Free Download Dimo Video Converter Ultimate for Mac/Win:
Other Download:
How to downscale 4K to 1080p ProRes for editing in FCP 7 smoothly
Note: If you are FCP X users, before you try to do the conversion, don't forget to make sure that you have installed the
Apple ProRes Codec manually since the FCP X asks users to install it by themselves.
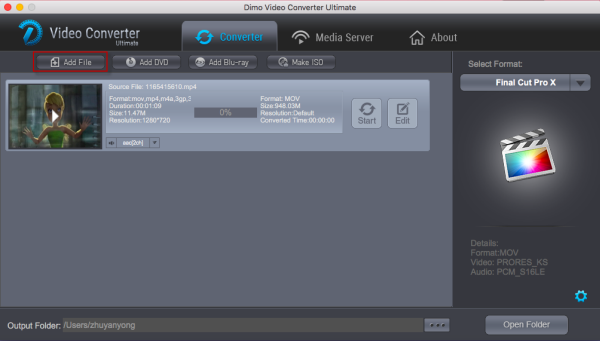
Step 1. Import 4K video files to the program
Simply drag-and-drop your files or use the files tab in the converter's interface to browse for your 4K video files in your computer.
Step 2. Choose FCP X/7 compatible format
Go to "Select Format" bar and choose "Format > Editor > Final Cut Pro X or Final Cut Pro 7" as output format for Final Cut Pro.
To have a smooth playback and editing after conversion, for FCP 6, you can only choose ProRes 422 and ProRes 422(HQ) as export format; while, for FCP 7 and FCP X, ProRes 422(LT)/ProRes 444/ProRes
422(Proxy) are all supported.
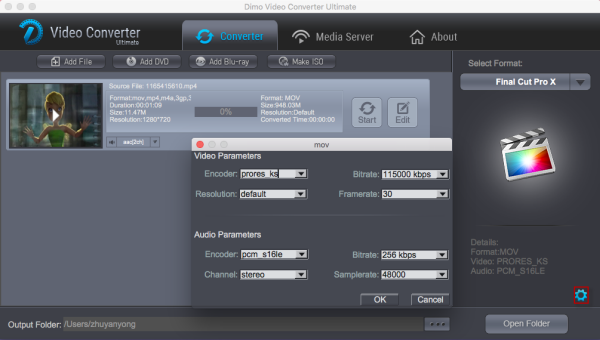
Tip: Adjust video and audio settings
Click "Settings" button and customize proper video/audio parameters including Video size, bitrate and fame rate and more.
Step 3. Start converting 4K video to Final Cut Pro
You should be ready to start conversion at this point. Just click "Start" button that can be found on the menu. Wait for a while and the video converter will do the trick. You will soon have your
4K video video into a format that's recognizable and editable by Final Cut Pro X/7– the MOV format.
Free Download or Purchase Dimo Video Converter Ultimate for Mac/Win:


Kindly Note:
The price of Dimo Video Converter Ultimate for Mac is divided into 1 Year Subscription,
Lifetime/Family/Business License: $43.95/Year; $45.95/lifetime license; $95.95/family license(2-4 Macs); $189.95/business pack(5-8 Macs). Get your needed one at purchase page.
Contact us or leave a message at
Facebook if you have any issues.
Related Articles: